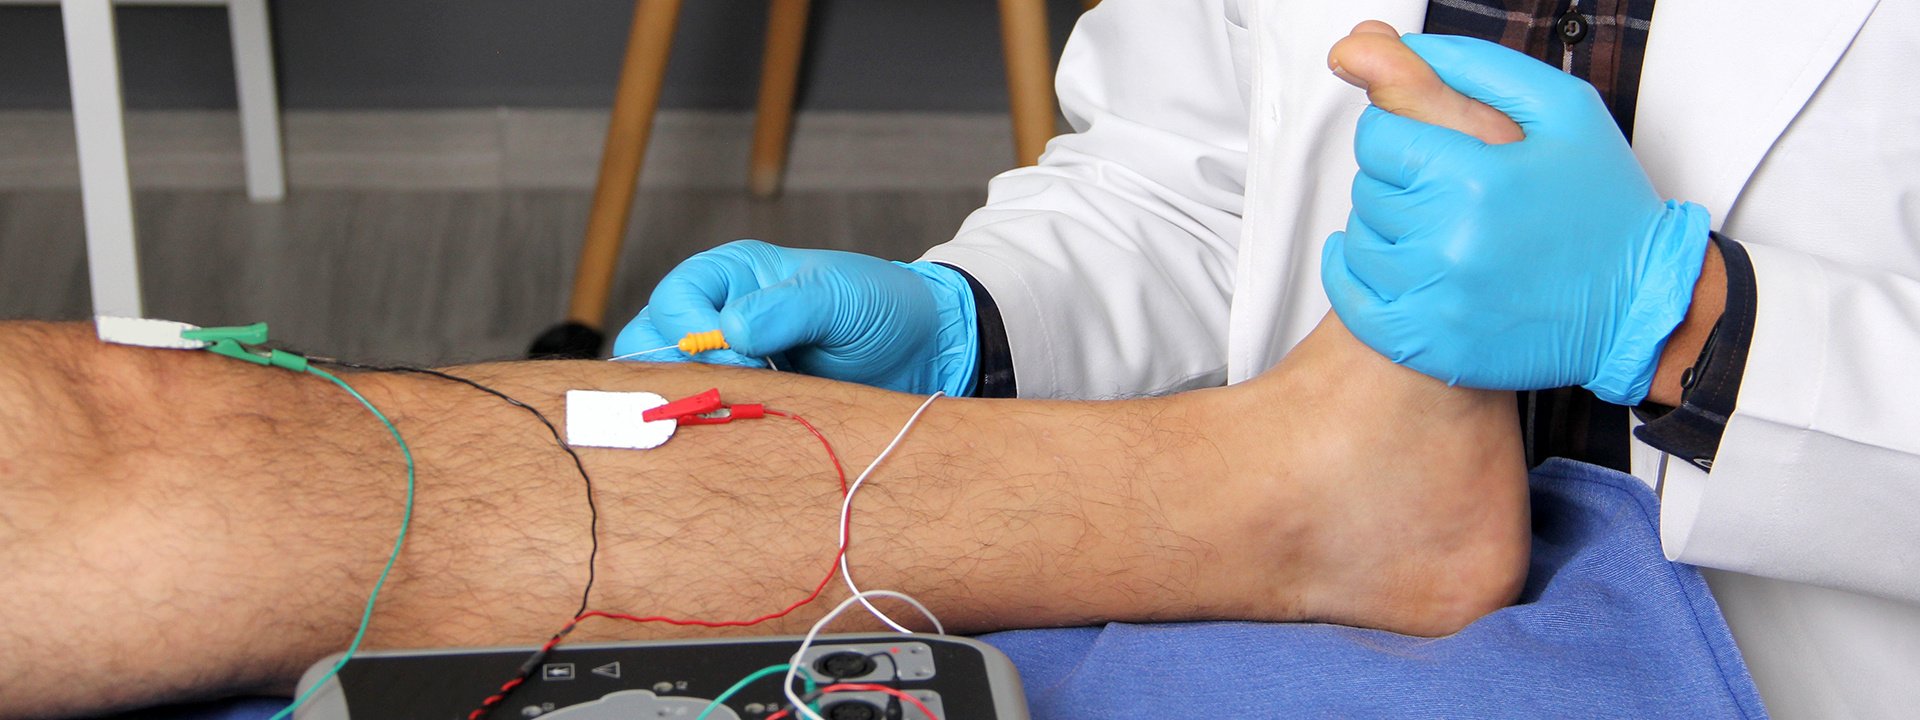
Plantar Pressure Mapping & Surface Electromyography (Part 2)
Plantar pressure mapping with in-shoe pressure insoles can benefit from the synchronization with complementary technologies to improve the outcome of human movement assessment and injury risk monitoring.
We have previously seen how surface electromyography (sEMG) can be used with plantar pressure data to perform individual neuromuscular profiling and evaluate muscle fatigue.
But how can we decide which muscles to measure and monitor within a measurement session?
The choice depends on several factors, including:
- How many sEMG sensors are available;
- The purpose of the measurement session; and
- The available time.
The first factor influencing your choice is the number of available sensors, as each sensor corresponds to a single channel and can record the electrical activity of a single muscle.
As a general guideline, a bilateral measurement with two sensors per leg requires a minimum of four sensors.
An example of a four-sensor configuration can be:
- Left + right rectus femoris
- Left + right biceps femoris
A six-sensor configuration allows for a more detailed bilateral and unilateral evaluation.
An example of a bilateral configuration with six sensors can be as follows:
- Left + right rectus femoris
- Left + right biceps femoris
- Left + right gluteus maximus
Also, a unilateral configuration with six-sensors can be structured as follows:
- Left + right vastus lateralis
- Left + right vastus medialis
- Left + right rectus femoris
The purpose of the measurement session is the second factor influencing the choice of which muscles to monitor. Depending on whether the assessment is aimed at detecting muscle fatigue or analyzing the stability of specific joint segments of the lower extremity, the configuration can include four or more sensors.
If we are interested in understanding fatigue by looking at correlations between muscle activity and plantar pressure distribution patterns, we can use a four-sensor configuration where the major muscle groups of the lower body are measured (quads + hamstrings). Suppose we are interested in assessing the hip joint's stability during the gait cycle. In that case, we can use a six-sensor configuration where gluteus max, gluteus medius, and TFL on the left and right sides can be measured.
Lastly, consider the practicality of time availability influencing the choice. Sometimes, practitioners need a fast and quick setup because of limited time. In that case, a four-sensor configuration seems more practical and efficient than more complex configurations with six or more sensors.
The sensor configurations mentioned above can be seamlessly integrated with XSENSOR's Intelligent Insoles. These insoles are capable of complete biomechanical/neuromuscular profiling and serve a wide range of purposes, from pre-participation screening to injury risk monitoring and return-to-performance decisions.
Check out our webinar to learn how to choose the proper protocols and muscles to measure for different applications and sports.
